The weather on the Arctic Circle Trail can be highly variable so you need clothing suitable for warm sunny days as well as cold and wet ones. You also need to strike the right balance with weight, ensuring you have enough food to sustain your heightened level of activity but are not struggling under the weight of all your gear.

For general information about what to pack for a hiking trip to Greenland, have a look at Chapter 7 of our Ultimate Greenland Hiking Guide. Also check out this blog for some vital items that you may not have thought of.
More specifically, we would suggest the following for the Arctic Circle Trail:
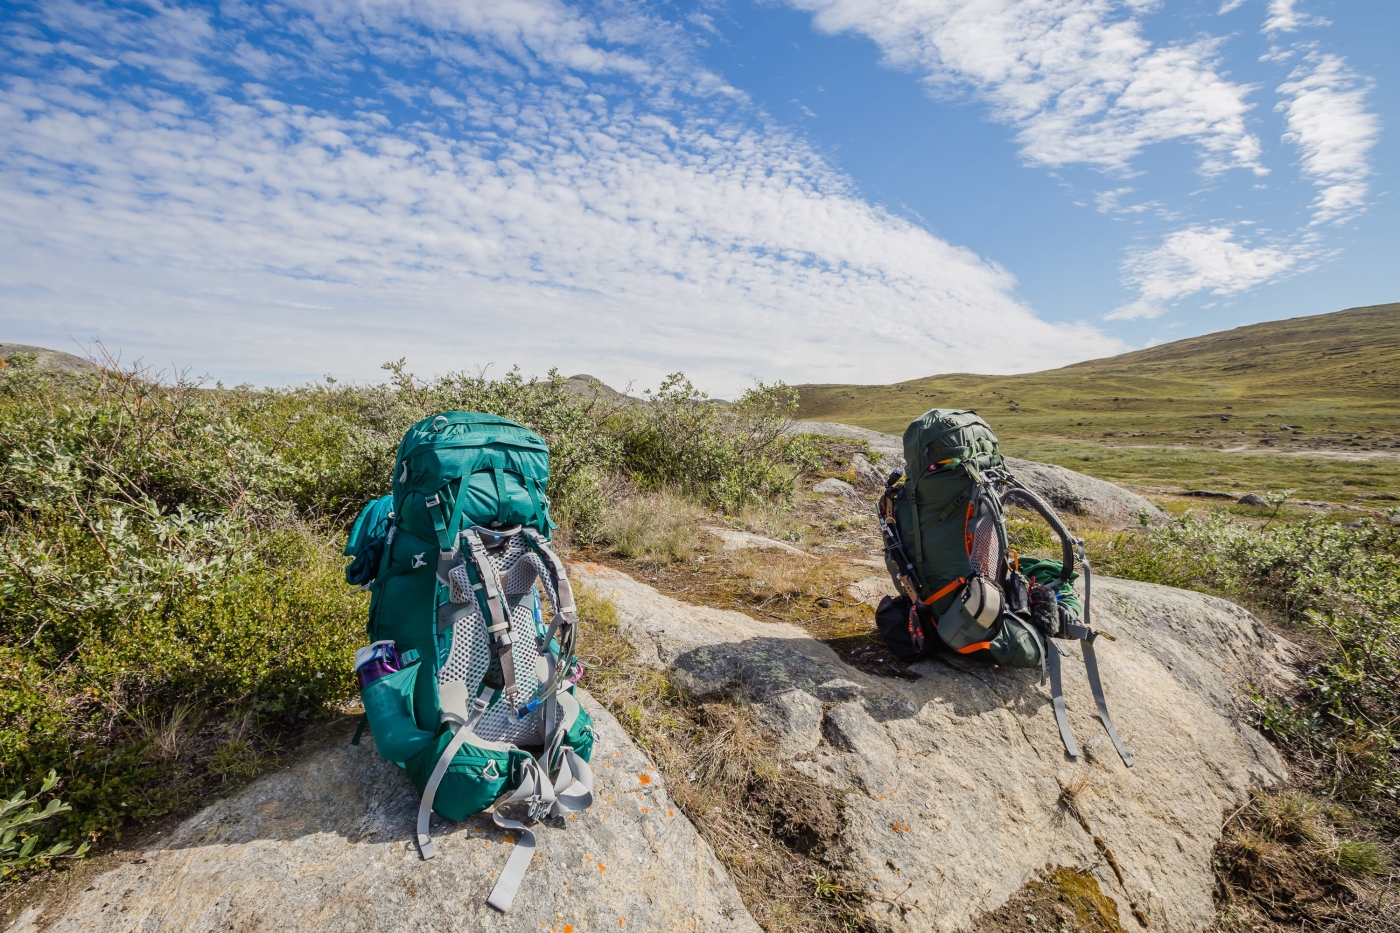
- Backpack: Having a backpack that is correctly fitted, provides support and is big enough to carry all your gear is essential. Everything you need to support yourself off the grid for the duration of the hike will be carried in this pack; choose wisely and ensure a proper fit. If you’re buying a new bag, be sure to load it down with the amount of weight you estimate you’ll carry on the trail, then adjust.
- Good quality but lightweight 3-season tent: Although there are huts along the trail, many of them are very small and there is no guarantee that there will be space for you inside when you arrive. It can get quite cold on the trail, and it can get quite windy. You need something that will stand up to both. It is not uncommon for hikers to experience sun, wind, rain and snow over the duration of a single trek, even in the height of the summer months.
- Sleeping bag: Even during summer, temperatures on the trail can get down to negative numbers overnight so you need to bring a sleeping bag with sufficient warmth for these conditions. Bring a sleeping bag rated for 10 deg F (around 6 deg C) lower than the lowest temperature you expect to encounter on your journey and pair it with a sleeping pad that has a thermal resistance value (R value) of at least 2.0. Sleeping bag temperature ratings are based on the assumption that you are using a pad to insulate you from the ground and prevent heat loss through conduction.
- Sleeping mat: Provides a layer between you and what can be a cold, hard ground.
- Cooking stove and fuel: In order to prepare meals on the trail you’ll need to carry your entire supply of fuel with you during the trek. As it’s not permitted to fly with fuel cannisters to Greenland, you will have to purchase your fuel once you arrive in Kangerlussuaq or Sisimiut. There are a variety of fuel use calculators available online that you can use to predict the amount of fuel you will need for your hike. Purchase what you need but it doesn’t hurt to have a little extra in case you are caught out on the trail for extra days due to bad weather or injury.
- Eating utensils: eg. mug, plate, spork etc., dependent on your stove and what you plan to eat.
- Food for the expected duration of your trek and at least 1 extra day. Things do not always go to plan so it is a good idea to have at least a little extra food, just in case.
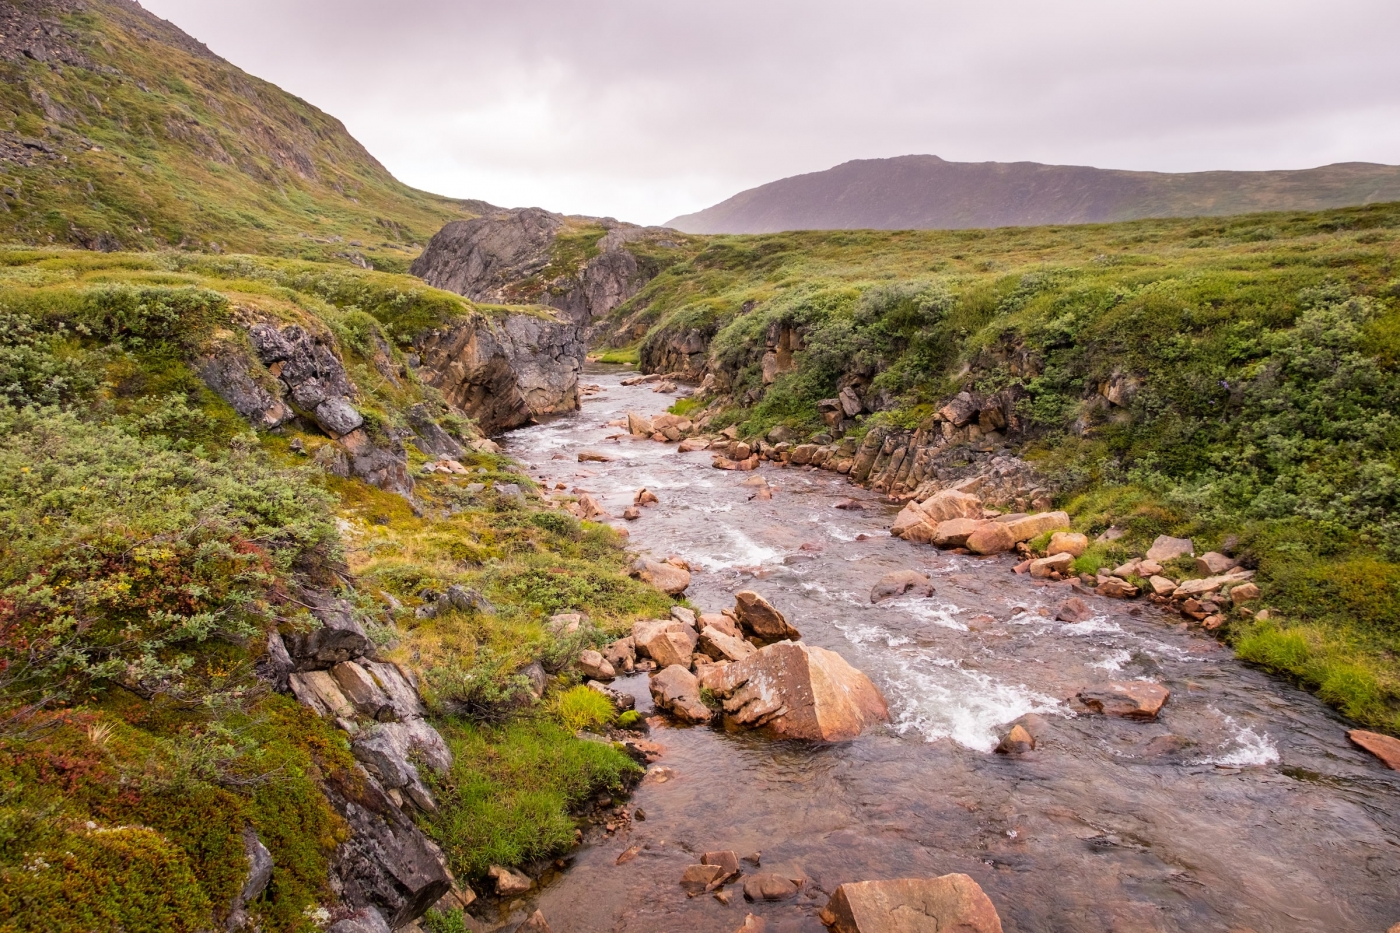
- 1L water bottle: There are a multitude of lakes (and streams as you get closer to Sisimiut) along the way so you do not need to carry a lot of water with you. You should be able to drink directly out of the lakes and rivers without a problem, but if you are worried about your stomach, perhaps take a filter bottle or purification tablets.
- Base layer: 1 thermal top and 1 thermal bottom.
- Hiking layer: 2 quick-dry tops and 1 pair of quick-dry bottoms
- Mid-layer: 1 fleece or down jacket.
- Waterproof layer: jacket and pants. These will protect you if it rains, but will also cut the cold wind.
- 3 pairs wool hiking socks.
- Waterproof hiking boots: There are a lot of boggy patches as you traverse the Arctic Circle Trail, some of which test even the best waterproof hiking boots. Give yourself the best shot at making it to the end with dry feet by investing in good quality waterproof hiking boots or, if you prefer trail shoes, team them up with Gore-Tex socks to keep your feet dry. There is not a lot worse than having wet feet for over a week!
- River crossing shoes/sandals: There are a few rivers that are too deep to hop across in your hiking boots. They need to be forded so you will need a second “shoe” with you to change into unless you have tough feet.
- 1 hat for the sun + 1 cold weather woollen hat
- Sunglasses
- Sunscreen and lip balm
- Headlamp
- Insect repellent and head net
- First aid kit and blister care kit: blisters, rubs and cuts are inevitable when hiking in the outdoors. Don’t be caught on the trail without a basic first aid kit. At a minimum, be sure to carry a variety of plaster sizes, sports tape, gauze pads, moleskin, liquid bandage, antibiotic cream, anti-itch cream and an elastic bandage.
- Repair kit
Optional but highly recommended:
- Hiking poles: They help take some of the weight off your legs going uphill, help your knees coming downhill, and stabilise you as you negotiate bogs and river crossings. They certainly help a lot on the Arctic Circle Trail for the latter.
- Gaiters: Between the bogs and the morning dew on the Arctic Willow – you can be almost guaranteed that the bottoms of your hiking pants will be muddy and/or wet if you don’t use gaiters. Not the end of the world, but definitely more comfortable with them.
- Camera
- A GPS locator beacon in case of emergency
- Bring Earplugs if you plan to sleep in a hut. There’s always someone snoring and if you don’t believe this then it might be you.
- Bring a sleep mask or clean bandana if you want to save weight. The days are long during the arctic summer and a sleep mask will help you get the rest you need to tack the trail.
Food for the Arctic Circle Trail
Planning your food for the Arctic Circle Trail is very important. Over-budget and you’ll end up carrying a lot of extra weight for nothing. Under-budget and you will be hungry and tired. Add in the fact that you should be carrying food for one extra day than what you think you need (you never know what might happen), and planning your food supply becomes one of the most critical aspects of your preparation for the Arctic Circle Trail.
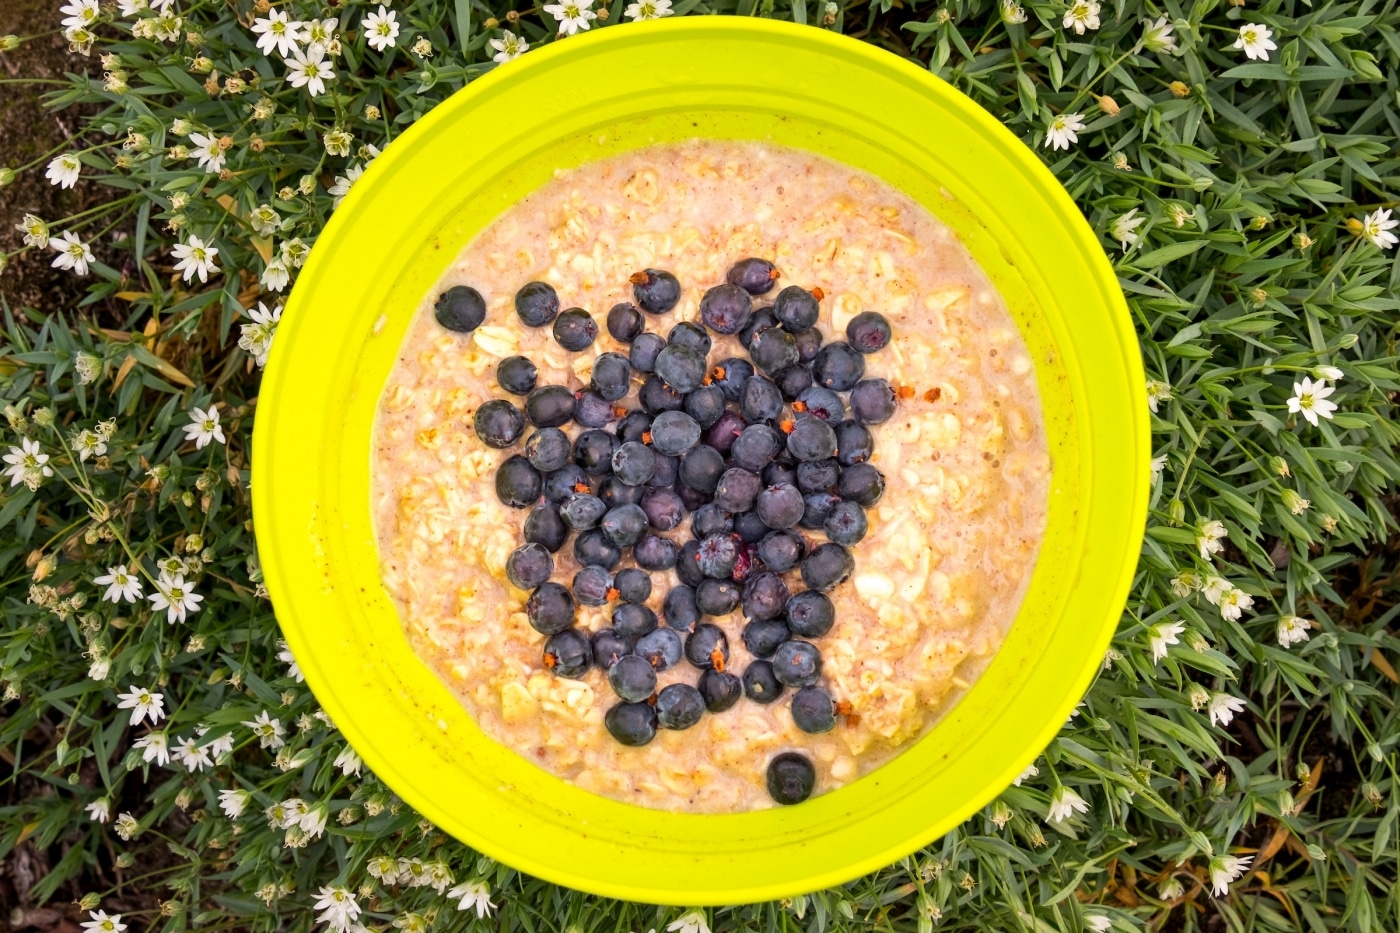
For the main meal: Many trekkers go the easy route and purchase just-add-boiling-water dried trekking food. The entire meal is prepared within the same pouch and there are many brands and flavours available to choose from. The advantage is that they are quick and easy; the disadvantage is they tend to be expensive.
If you have the time and interest, you can prepare and dehydrate your own meals in advance, and we’ve definitely found ourselves staring enviously at some of the the home-prepared dried concoctions full of vegetables as we tucked into our bought, mostly-veggie-free versions. If you are interested in doing this, there are several hiking pages devoted to different recipes and strategies for doing this on the web.
Useful information
→ Backpackers Guide to Dehydrating Foods by Raul Mercado
Whatever you pack, it should be calorie-dense for its weight. You will be expending much more energy than normal on the trail so you must also be prepared to eat more than you normally do as well.
Check out Chapter 3 for tips on where to find supplies once you arrive in Greenland.
Essential Skills
- Pack it in/Pack it out: There are blue trash dumpsters at some, but not all of the huts. Don’t count on them and plan to haul your trash with you for the entire route. If you see a 50 gallon drum near a hut that does not mean you can leave your trash there. These are open to the wind and the wind will quickly litter the landscape with your food wrappers and bath wipes.
- Know how to dig a cathole: If there’s no toilet/privy nearby that’s absolutely no excuse to just leave your waste and toilet paper out in the open. If you’re going to tackle this trail you must know how to properly dispose of your excrements. See here.
- A Canoe J-Stroke to paddle in a straight line
- How to dry your wet socks: Boil a liter of water and pour into a reusable water bottle. Wrap your wet socks around the bottle and secure in place with some cordage or a rubber band.
Gear Tips
- Canoes: If you’re set on paddling across the lake we recommend rising early and setting off before eating breakfast. If you are paddling from Katifik to Canoe Center there is a beach along the north shore about 45-60 minutes into the trip. If you are paddling from Canoe Center to Katifik there is a beach on the south shore, just around the bend, about 15-30 minutes into the trip. We recommend that you get started as early as possible and then pull into either beach for breakfast.
- Plan for a slower pace: Expect to be bushwhacking with a footpath available about 5% of the time. As you cross through terrain such as scrub willow thickets you need to move slowly so as to look for postholes that can lead to a broken leg. You also need to plan your route based on the terrain in front of you so in general I would plan for 1 mile/1.6 km per hour whereas on the Northern Route you can generally maintain twice that speed or more.