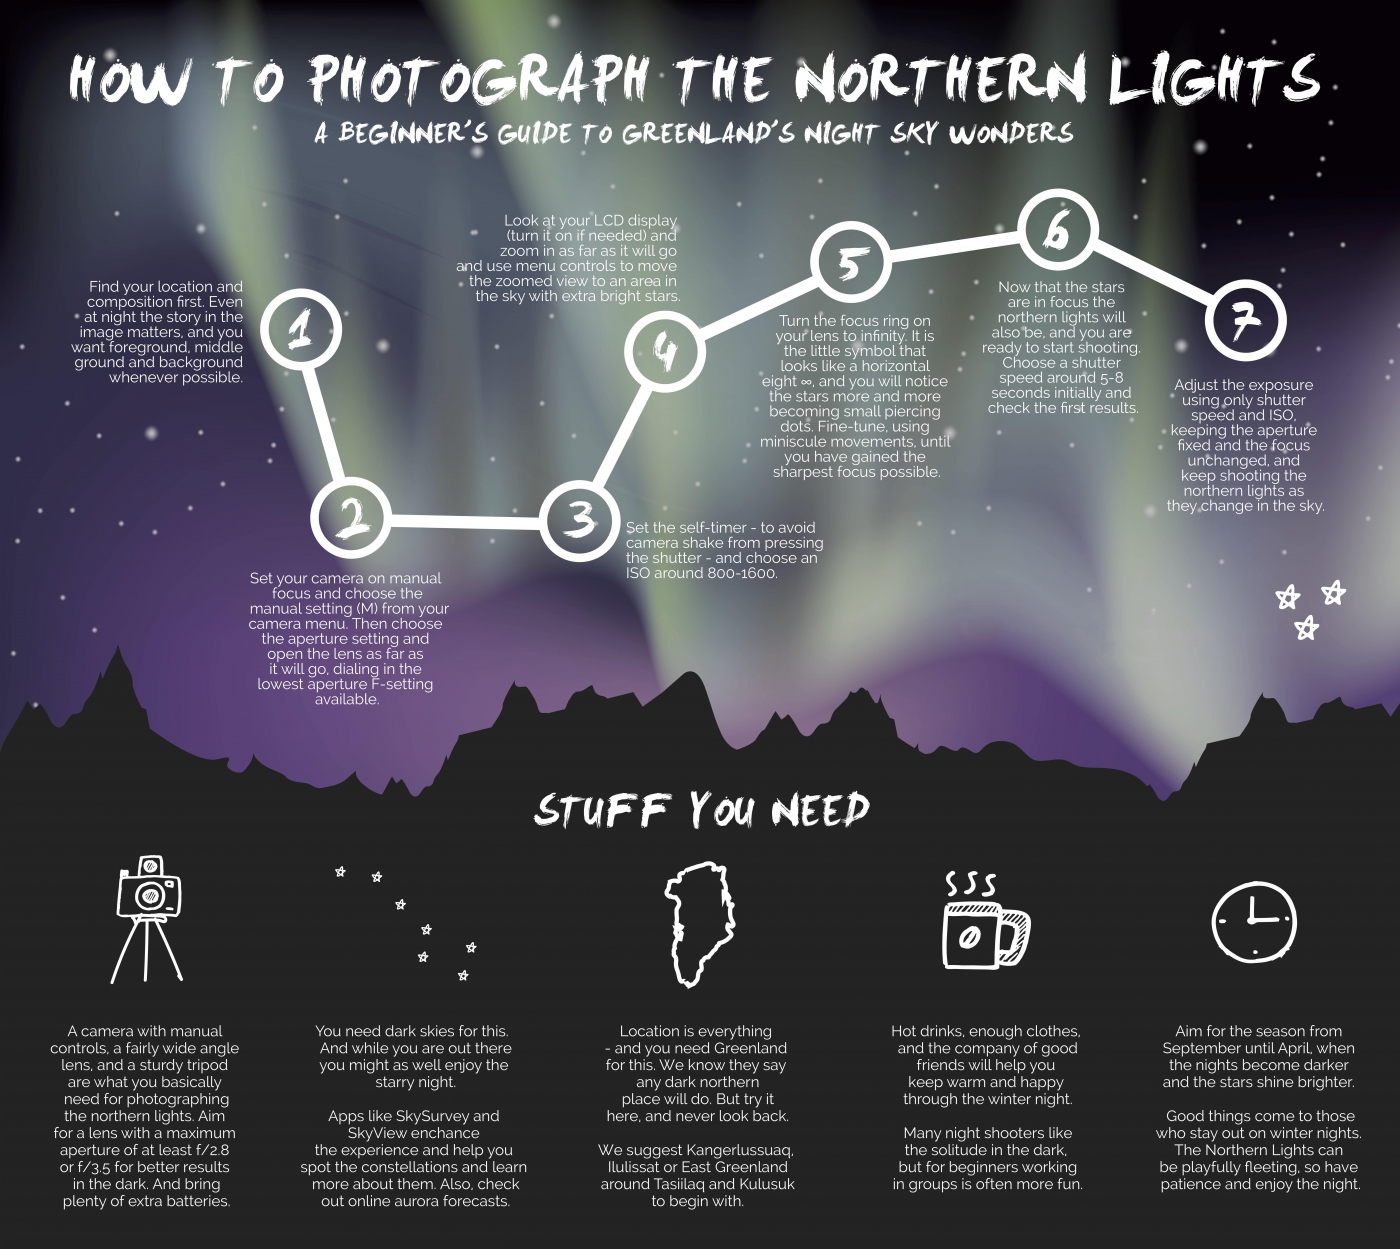
If you are hoping to capture the northern lights and the night sky on camera, but are not quite sure how to go about doing it, here are some great tips on how to get started.
In the article The Scenery of the Night, we talked about the basic preparations you need to make before you plunge into shooting photos of northern lights, stars and landscapes at night. In this article, we take additional steps by providing you with a set of basic tools which should allow you to really get going.
A number of people start off by focusing on the need for expensive and advanced equipment they believe is needed in order to shoot at night. But we recommend everyone to begin with the equipment that is at your disposal and slowly gain proficiency by pushing your equipment and your know-how to the limits.
Are you hoping to capture the northern lights?
Continues further down the page...
The following tips are the first steps to shooting pictures of the northern lights and other objects at night. More advanced considerations may increase your abilities, but we recommend beginning at an easier down-to-earth pace, and with time gaining the confidence to consider additional steps.
1) Put the camera on a tripod and make sure your tripod is sufficiently secured and in lieu of any wind that may threaten to topple it.
2) Set your camera on manual focus and choose the manual setting on the menu button.
3) Use either a remote control or the camera’s timer, set for a two or ten seconds release. Pressing the release button yourself will create shaky images even if you press the button ever so gently.
4) Open the lens as far as it will go, choosing the lowest aperture f setting available.
5) Set the camera for the composition you are aiming for. Think as much as possible about getting something in the foreground or some strong features in the middle of the picture, as northern lights and stars are always considered technically to be in the ‘background’. The composition will be much better and your photo far more interesting, as it will have depth and context. As mentioned previously, this is something you can successfully think through during the daylight hours, while you are considering where to go to get your northern light photos at night.
6) Turn on the LiveView function on the camera, allowing you to use the screen and not the view finder to focus. Forget about autofocus – it will not function properly due to lack of sufficient contrast. The contrast is not clear enough for the camera to grasp the area of focus on the night sky.
7) If your camera permits such a function, set the zoom button for maximum zoom, then move the camera with the zoomed screen to an area of the sky with particularly bright stars (stars will appear relatively large in your scope).
8) Turn the focus ring on your lens to infinity. It is the little symbol that looks like a horizontal eight ∞, and you will notice the stars more and more becoming small piercing dots. Fine-tune, using minuscule movements, until you have gained the sharpest focus possible. Because stars and northern lights are so far away, it seems like they are on a flat backdrop in relationship to the person who is watching them, regardless of the fact that they are very far apart from one another. If the stars are in focus, the northern lights, by principle, will be as well, but do remember that the northern lights are always moving and can seem blurred. Once completed, you can turn off the LiveView.
9) Set the camera on an ISO and shutter speed that you know, or assume, is comparable to the emission of light coming from the northern lights. If the light seems very powerful, you might only need a setting of ISO 640 and five seconds of exposure if your lens has a max aperture f/2.8. If the light is dim, you will need to adjust both parameters to a setting such as ISO 1000 and eight seconds. In time, you will learn to do this by sight alone, but for the time being a bit of tedious trial and error will do the trick.
10) Do a test shot and adjust your ISO and shutter speed. Do not change the aperture. It has to be as big as possible, allowing for the maximum amount of light to enter the lens per second. The more light that comes through the lens, the lower the ISO needs to be, thus reducing noise that might otherwise impair picture quality.
It’s time to go outside and enjoy the night sky, trying out your newfound knowledge for real. Who knows, maybe you will discover, like other night time photographers before you, that the best place to be is some place outdoors under the stars with a camera in your hand.
In coming articles we will focus on more technical aspects such as:

Have fun and be sure to share your results on our Facebook page. Hashtag them #GreenlandPioneer on Instagram or send them, including some feedback on your use of the tool box, to photos@greenland.com